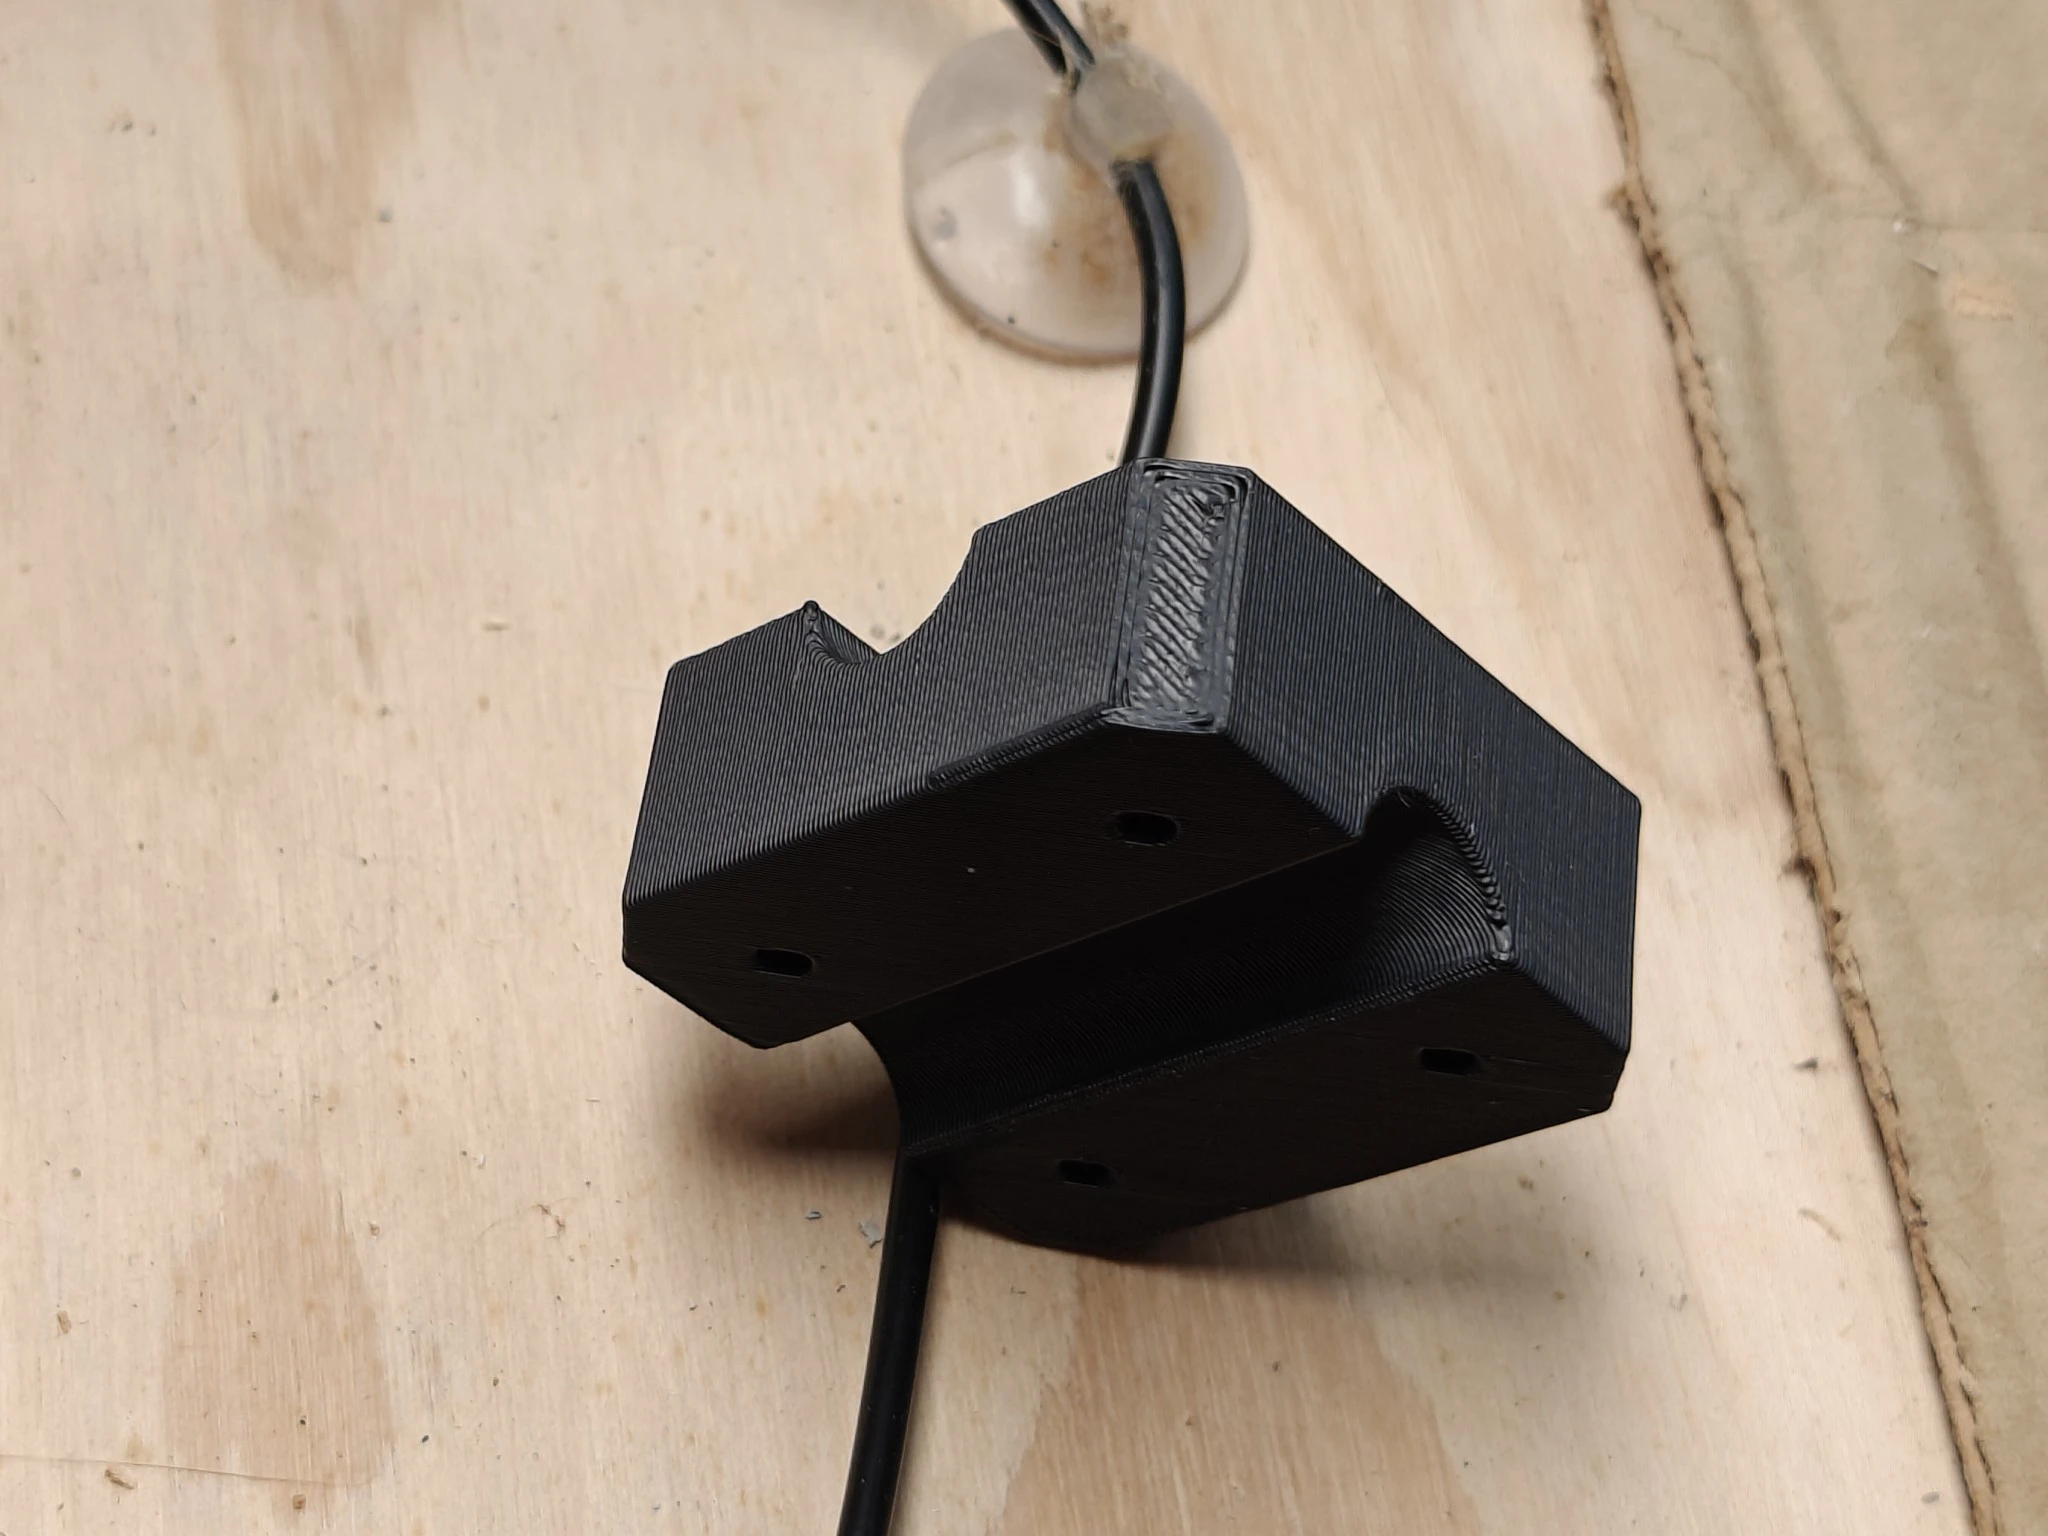
The joys of parts with not friendly printing geometry. There’s another cylindrical recess running at 90 degrees to the one that’s visible in this photo.
Apologies for the very obvious layer lines. Harsh direct overhead lighting makes them a lot more obvious. The prints are much better in person, I promise.
Edit: Finished part showing the second cylindrical recess. They’re both dimensionally important, which is why the parts weren’t printed flat.
All has been revealed.
Thanks! I will make a “same print, terrible lighting vs good lighting” post in the next day or two. No, adhesion wasn’t an issue. I run klipper with z calibration, so my first layers are very consistent.
Most of what I print is self designed. I do my best to make sure the designs are (reasonably) easy to print. For overhangs, printing a part at 45 degrees is basically a cheat code, but it comes with the tradeoff of more iffy bed adhesion.
I printed these with a skirt and some tree supports to improve stability. Beyond that, I didn’t do anything special and don’t put anything on my bed.
These are ASA parts with 0.3mm high layers. If you haven’t printed ASA before, it’s a bit more melty than PLA. You’re right that rebar isn’t super dimensionally consistent, but a 14mm radius cylinder wouldn’t have printed very well flat.
I don’t think layer lines matter a ton in this particular print. Most of the stress is going to be torque caused by one bar trying to rotate relative to the other bar.
A few answers here.
First, swapping to ACM panels bumped my chamber temps. If you dig through my post history you can find a temp graph comparing before/after. Second, adding a radiant barrier did help, but was less significant than the ACM panels. I do need to do the back panel and want to make my fridge door double pane using one of the stock acrylic sides. Third, I have magnetic panel clips that I modified to give me a bit more space to accommodate the radiant insulation. You would never be able to fit this stuff in with the stock panel attachments.